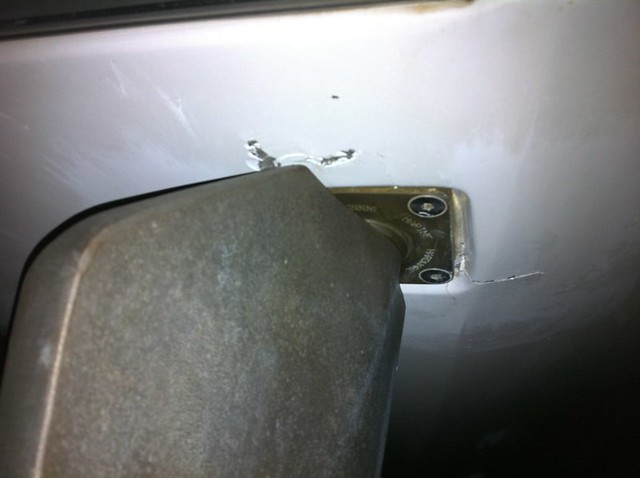
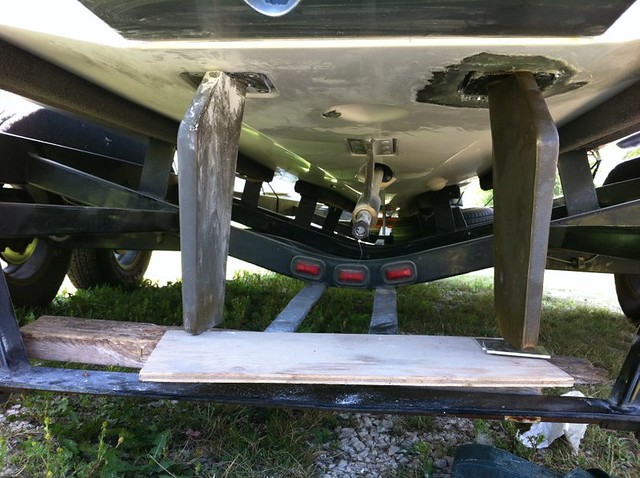
Last week we were out surfing with an extra Fat Sac in the locker. Water is about 10-15' deep and as we are pulling our surfer out of the water, we grind a rock at about 3-4 mph. We found a pinnacle and it was about 3.5'-4' under the water. There are lots of rocks in this lake and we thought we knew where all the danger areas were. All I needed was 1-2 inches

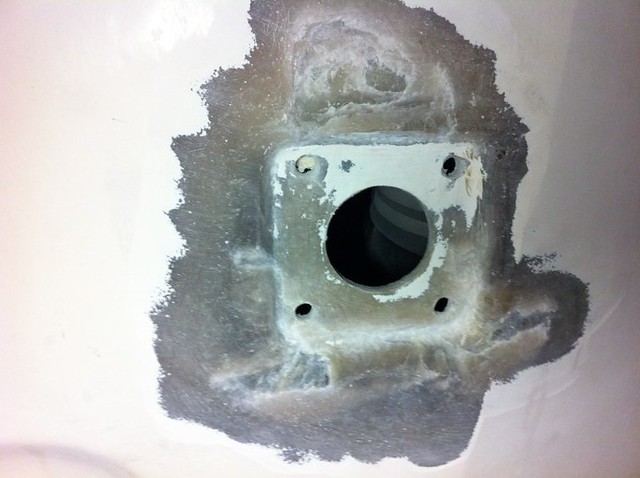
So here is the initial damage.

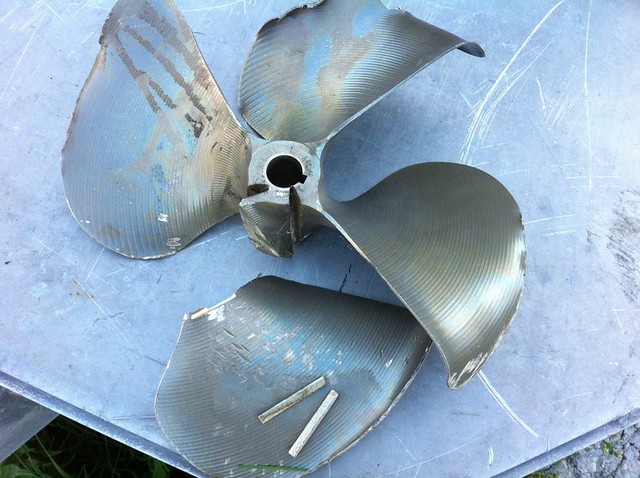
So after taking it back home and surveying the damage, the propeller looked like it was repairable, but it had spun the key and had actually climbed up the shaft. So after using a 10 ton hydraulic puller, all I did was bend the puller hooks and leave impressions in the prop blades. Heat didn't work and neither did a BFH while under tension. So the only option left was to cut it off. That is not quite as easy as it sounds! You need to cut off a blade to get in to the hub and then be careful not to damage the shaft. The rudder shaft is perfectly straight! The prop shaft is straight as well.
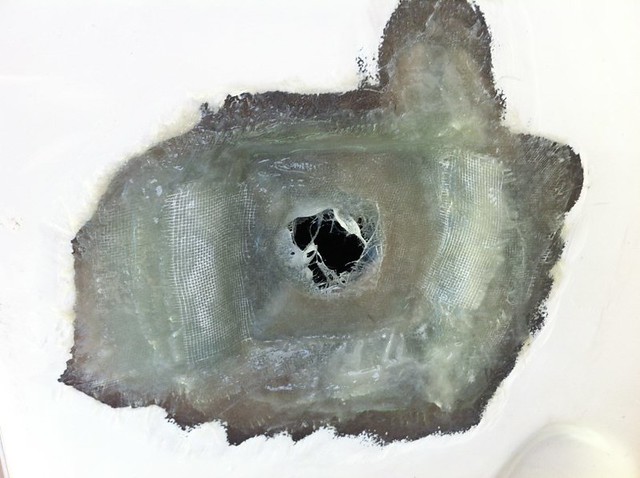
I pulled the rudder and started grinding the gelcoat off with a 60 grit flap disk. It became obvious that a previous repair had been made as I continued to cut back to good fiberglass.
You can see the resin built up without cloth. As I broke out the carbide tipped grinder the amber resin flaked off in chunks. This was probably why the initial cracks were as big as they were, the fiberglass (perhaps) could have flexed and possibly not cracked at all or at least somewhat less. I just kept going until I had removed pretty much all of the resin.
I didn't take a picture of it all ripped out, but I removed all of the rough resin at the top of the photo as well.

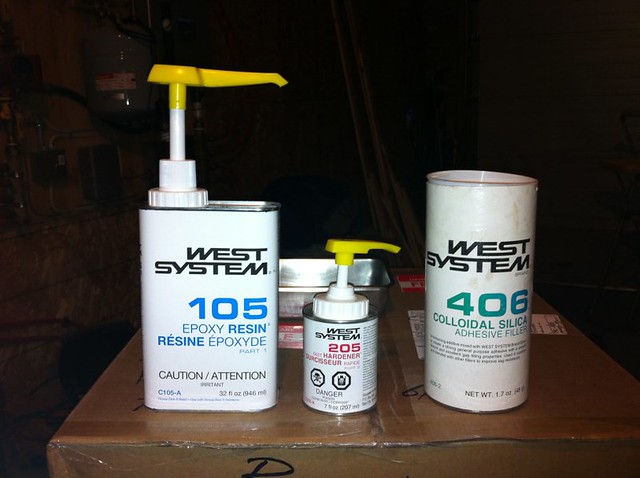
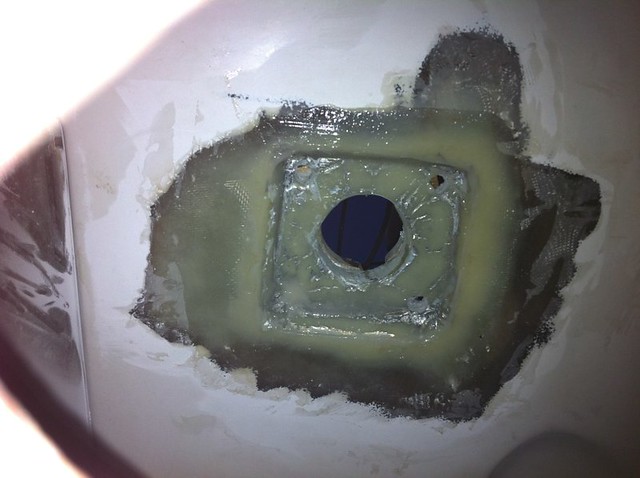
Rather than use resin, I went with the West system to lay in new cloth. I used about 4-5 sq ft (who would have thought) in about 9 layers with about 25 smaller pieces to give it some shape. The first few layers were placed with no silicate. I ended up having to add some silicate to keep it from sagging and, later on, to shape the edges of the attachment box.


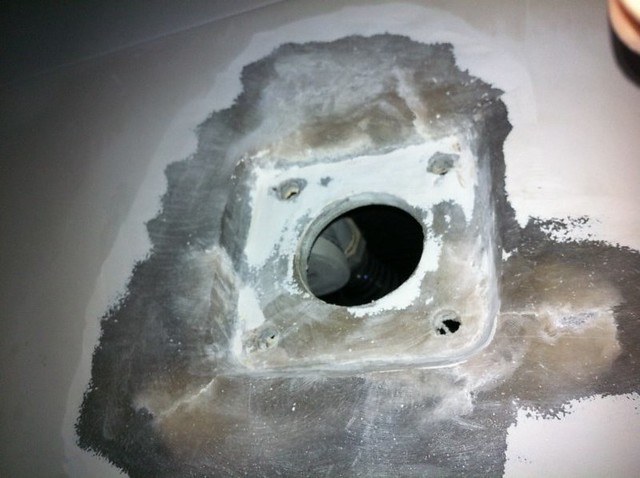
When I had built it up enough with cloth, I inserted the rudder for a test fit. I used carbide on a dremel to clean up the big hole and a 7/16 bit for the mounting holes. Being happy with the work so far, it was time to set a bed of epoxy for the rudder assembly to sit in. I taped the rudder assembly and used aluminum foil (or plastic) to prevent the assembly form becoming epoxied to the fiberglass while it set up. To prevent the screws from becoming stuck, I used plastic tape and petroleum jelly on the threads.
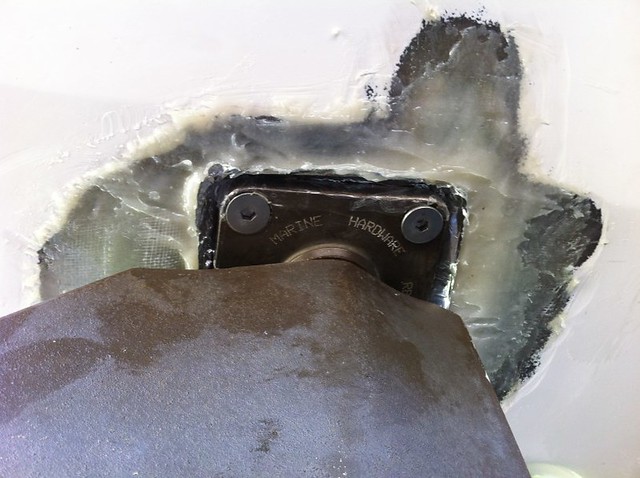
I let it set up for 5 hours and then pulled out the assembly to clean it up.

I did a bit of rough sanding with a 80 grit wheel on a grinder.
The next step was to add more epoxy (peanut butter thick) to shape the sides and fill in more of the rough areas. Almost ready for final shaping!
More instalments to come in a day or 2.


 Threaded Mode